
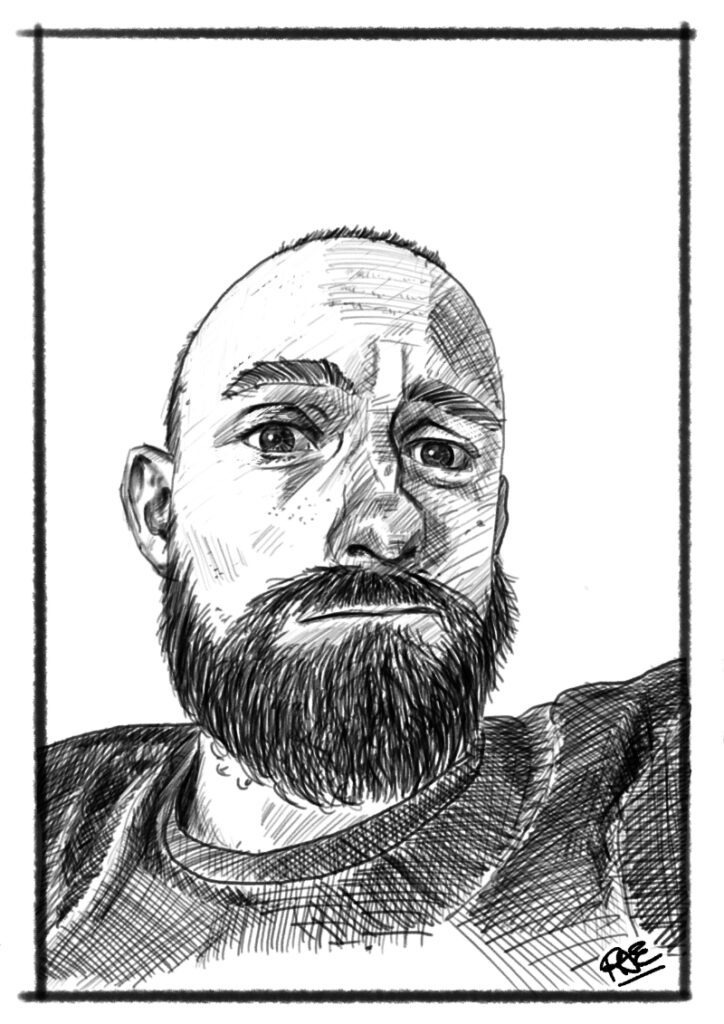
I decided that I was going to step away from rocks for a little bit and try to develop my digital portrait skills. I’ve been studying portraiture since my last drawing but I haven’t really tried to put what I’ve learned into practice with a complete piece so it’s about time I tried. I’d say I’ve made progress since my last portrait.
I’m really getting to like drawing on the iPad. At first, I thought the incessant tapping of the Apple Pencil would be too distracting to draw anything but after a while I’ve learned to adjust how I use it to minimise the noise.
I tried some little silicone tips that just slot over the tip of the pencil but they were awful to use, creating so much friction that hatching felt like wading through treacle. I found it much better to refine my technique than use them again.
This drawing was a single layer sketch, created with a single pencil brush (I think – or it might have been from an ink set, I’m not sure). I’d say it was more akin to a pencil as varying pressure lightened the tone of the stroke.
When I use traditional tools (like fountain pens or ballpoint pens) I tend to stick to one pen and I think that’s become a creative habit that I’m struggling to shake.
Having said that, the brush size was probably a wee bit wider than I’d normally use when drawing traditionally. This was accidental at first but as it’s good to push yourself out of your comfort zone, I kept going to see what developed. I really like how it turned out. I really like the bold lines and it’s a style that I’d like to develop further.
I’m going to explore this concept for my next digital portrait or maybe I’ll go wild and add some digital watercolour to my next portrait like I did with the daisy! 🙂